 listicle
Paver Sealing Services for Driveways: What to Know
Table of Contents
- Why Paver Sealing Services Matter for Your Driveway
- What Does the Paver Cleaning and Sealing Process Include?
- Understanding the Cost of Paver Sealing per Square Foot
- How Long Does Paver Sealer Take to Dry?
- Types of Pavers We Seal: Brick, Stone, and Travertine
- Extending Driveway Longevity with a Maintenance Schedule
- Get a Custom Quote for Your Paver Sealing Project
- Frequently Asked Questions
Last Updated: September 7, 2026
Why Paver Sealing Services Matter for Your Driveway
Sun, rain, oil drips, and foot traffic slowly break down brick and stone pavers, and the sand holding them together washes away over time. Paver sealing services for residential driveways stop that deterioration before it turns into costly repairs.
At Steve's Premium Pressure Washing, we've spent over a decade restoring driveways. Sealing locks in joint sand, blocks moisture, and creates a barrier against oil, rust, and mildew, keeping driveways structurally sound for years longer.
What Does the Paver Cleaning and Sealing Process Include?
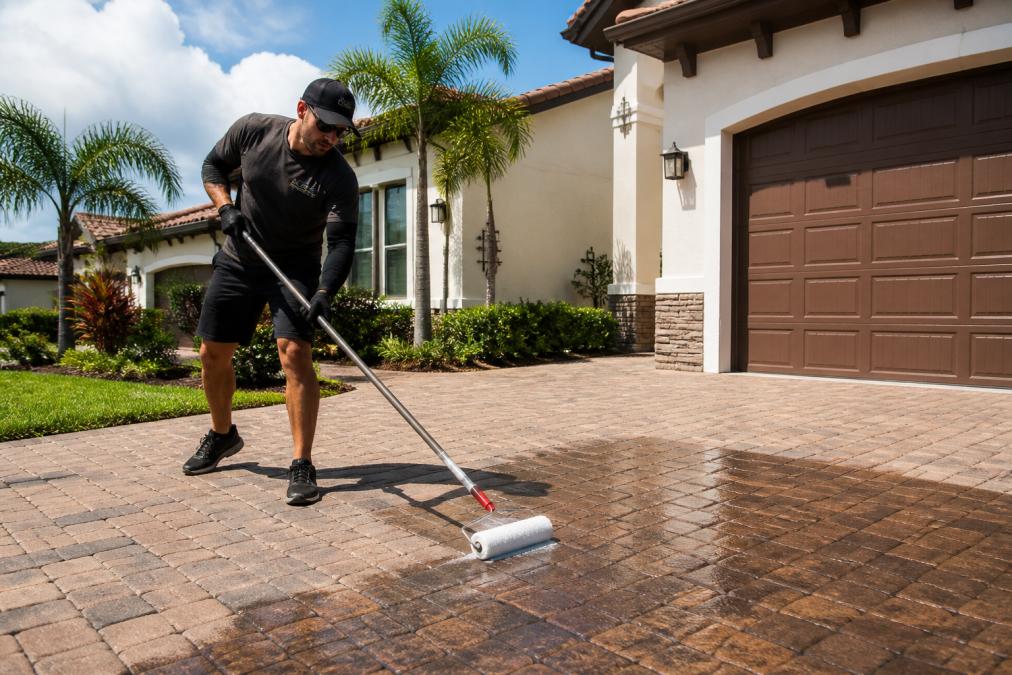
The paver cleaning and sealing process follows a strict sequence. Skipping steps is a common mistake from DIY attempts and low-cost providers.
Surface preparation starts with thorough cleaning to remove dirt, mold, and efflorescence. Most driveways need pressure washing, though delicate surfaces like travertine may require a gentler soft wash to avoid etching.
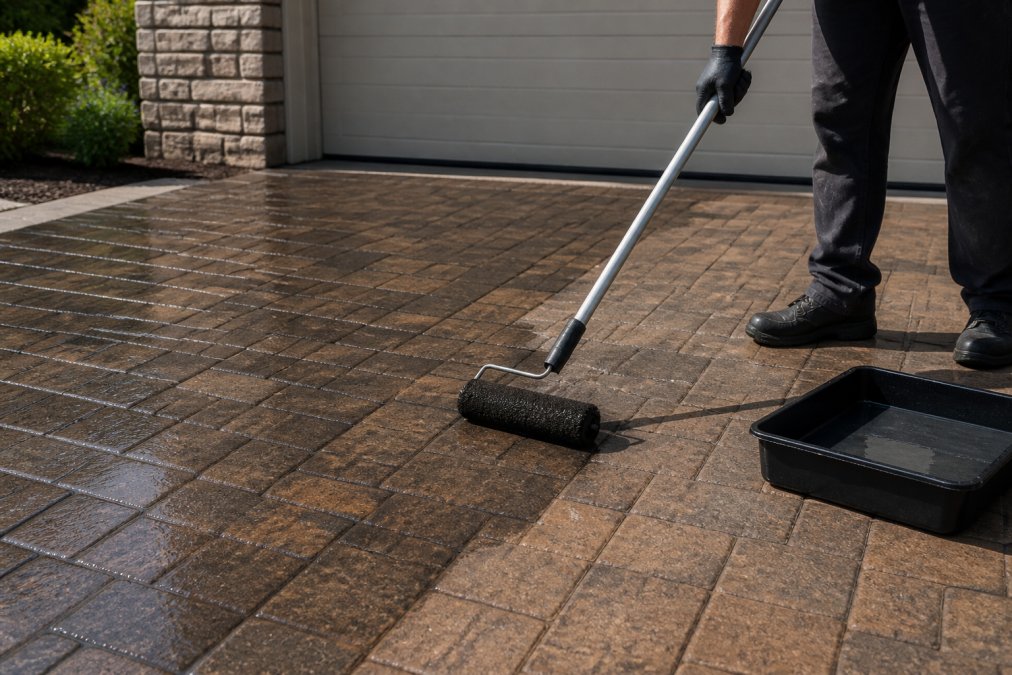
After the surface dries, fresh polymeric sand is swept into every joint. This sand hardens when activated, locking pavers in place and preventing weed growth. Only then does sealing begin, with a solvent-based or water-based sealant chosen for your paver type and desired finish.
Understanding the Cost of Paver Sealing per Square Foot
The cost of paver sealing per square foot varies based on paver material, surface condition, and whether the job includes cleaning and resanding. Some providers quote a bare-bones price, then add fees for the preparation work.
You are paying for labor-intensive preparation. Cleaning, repairing pavers, resanding joints, and drying time can stretch the project over several days. A proper job is not same-day service.
International Concrete Repair Institute guidance on surface preparation emphasizes that the longevity of any protective coating depends almost entirely on how well the substrate is prepared beforehand. That principle applies directly to paver sealing.
DIY vs. Professional Paver Sealing Costs
Renting a pressure washer and buying sealant looks cheaper on paper, but DIY hides the cost of mistakes. Too much sealant can leave cloudy puddles; too little can leave bare spots. Skipping sand stabilization can mean pavers shift unevenly.
Professional paver sealing services include equipment, experience, and liability coverage. For a small patio, DIY might make sense. For a driveway, the square footage and potential consequences of failure may tip the scale toward hiring a professional.
How Long Does Paver Sealer Take to Dry?
Paver sealer drying time is rarely a single number; product chemistry, paver porosity, and weather all shift the timeline. Understanding drying and cure stages helps you avoid the most common failure: walking or parking on a surface that looks dry but is still soft.
The Stages of Drying and Cure
Sealers dry in stages, and each stage has different restrictions. The table below summarizes typical timeframes for solvent-based and water-based acrylic sealers applied in moderate conditions (70°F, 50% humidity, light breeze).
| Sealer Stage | Solvent-Based | Water-Based | What You Can Do |
|---|---|---|---|
| Dry to touch | 1-2 hours | 2-4 hours | Keep people and pets off entirely |
| Foot traffic | 6-12 hours | 12-24 hours | Walk carefully, no dragging objects or furniture |
| Vehicle traffic | 24 hours | 24-48 hours | Park cars, but avoid sharp turns or heavy loads |
| Full chemical cure | 5-7 days | 7-14 days | Normal use, first wash, replace potted plants |
Solvent-based sealers flash off faster but emit stronger fumes. Water-based sealers take longer to dry but have lower VOCs and are easier to apply evenly in humid conditions.
How Weather Shifts the Timeline
Temperature and humidity most directly control drying time. Below 50°F, most acrylic sealers will not cure properly. Above 90°F, the sealer may skin over while solvent or water is trapped underneath, causing bubbles or a milky haze days later.
High humidity slows water-based sealer evaporation dramatically; a 75°F day at 80% humidity can double dry-to-touch time versus 40% humidity. Solvent-based sealers are less humidity-sensitive but more wind-sensitive, which can cause uneven drying and streaks.
The Hidden Risk: Rain and Dew
Rain within the first 24 hours is a common cause of failed paver sealing jobs. Even light drizzle can create a cloudy film. Heavy dew on a clear night can cause damage, even without forecast rain.
How to Test Whether the Sealer Is Ready
Experienced applicators use the fingernail test. Press your thumbnail into an inconspicuous corner. If it leaves a mark, the sealer may still be soft. For vehicle traffic, press cardboard onto the driveway with your thumb; if it leaves an impression, it may be advisable to wait longer.
Why Full Cure Takes Longer Than You Think
The dry-versus-cured distinction is where homeowners get into trouble. A sealer can feel dry within hours, but chemical cross-linking continues for days. During this window, the sealer may be vulnerable to scuffs, indentation, and chemical staining.
The Unique Angle: Matching Sealer Chemistry to Your Climate
Most articles stop at "24 to 48 hours." The deeper question is which sealer chemistry suits your climate. In hot, sunny regions, solvent-based sealers with UV inhibitors may resist yellowing longer. In humid coastal areas, water-based sealers may resist blushing. In freeze-thaw climates, a breathable sealer may let trapped moisture escape rather than cracking pavers.
A professional paver sealing service should select a product matched to your local weather and sun exposure. Ask your contractor which sealer they recommend and why. A contractor who cannot answer may be using a one-size-fits-all approach.
Types of Pavers We Seal: Brick, Stone, and Travertine
Not all pavers respond to sealing the same way. Brick pavers are dense and forgiving, accepting most sealants well. Their main issue is efflorescence, which requires proper cleaning before sealing.
Natural stone pavers like travertine and limestone are porous and sensitive to acidic cleaners. Travertine sealing requires a pH-neutral cleaner and breathable sealant. A matte finish suits travertine better than gloss, which can look artificial.
Concrete pavers, the most common choice for modern driveways, sit between brick and stone in maintenance. Sealing protects against oil stains and UV fading that age plain concrete within a few years.
Extending Driveway Longevity with a Maintenance Schedule
A single sealing job is not a lifetime solution. Paver durability depends on a regular maintenance cycle. The right schedule depends on your climate, sun exposure, and traffic levels.
The Three Climate Zones That Change Your Schedule
Paver maintenance intervals vary significantly across the United States because of differences in rainfall, UV intensity, and freeze-thaw cycles.
Hot and sunny climates (e.g., the Southwest, Florida, Texas): UV radiation is the primary enemy. It breaks down the binder in sealers and fades paver color. In these regions, plan on resealing every two to three years. Use a sealer with UV inhibitors and check for color fading or a chalky residue on the surface as signs that the sealer is failing.
Wet and humid climates (e.g., the Southeast, Gulf Coast, Pacific Northwest): Moisture drives weed growth, moss, and joint sand washout. These regions need more frequent cleaning (three to four times per year) and annual joint sand inspection. Resealing every three years is typical, but a breathable sealer is essential to prevent trapped moisture from causing efflorescence or freeze damage.
Freeze-thaw climates (e.g., the Northeast, Midwest, Mountain states): The expansion and contraction of water as it freezes and thaws is the most destructive force for pavers. Joint sand washes out faster, and pavers shift more readily. Inspect joints in both spring and fall, top up sand as needed, and reseal every two to three years with a breathable, flexible sealer that accommodates movement.
Traffic Levels: The Variable Most Guides Ignore
A driveway handling two cars differs from one seeing daily delivery trucks or RV parking. High-traffic driveways may wear through sealer faster. If you have frequent heavy vehicles, it may be advisable to shorten your reseal interval and inspect wheel paths for wear.
A Month-by-Month Maintenance Checklist
Rather than vague advice to "clean twice a year," here is a practical calendar that works across most climates:
- Spring (March-May): Perform a deep clean with a soft wash or gentle pressure wash to remove winter debris and any organic growth. Inspect joints for sand loss after snowmelt or heavy spring rains. Top up polymeric sand where needed and re-activate it with a light water mist.
- Summer (June-August): Spot-clean oil drips and bird droppings promptly, as heat accelerates staining. Check for weeds sprouting in joints and remove them before they establish roots. In high-UV climates, assess whether color fading indicates the sealer is nearing the end of its life.
- Fall (September-November): Clean leaves and organic debris before they decompose into staining tannins. Inspect the surface for hairline cracks or chipped edges that could allow water intrusion before winter. This is the ideal time for resealing in most climates because temperatures are moderate and rain is less frequent.
- Winter (December-February): Avoid deicing salts on sealed pavers, as many contain chlorides that can degrade the sealer and etch the surface. Use sand for traction instead. Brush off snow promptly rather than letting it sit and melt repeatedly.
The Annual Inspection: What to Look For
A 10-minute inspection each spring catches most problems before they become expensive. Walk the driveway and look for these specific signs:
- Joint sand loss: Gaps deeper than 1/4 inch between pavers indicate sand has washed out. This is the earliest warning sign of future paver movement.
- Efflorescence: A white, chalky residue on the surface means moisture is migrating through the pavers. If it appears on a sealed surface, the sealer may be failing or the pavers were not fully dry before application.
- Weed growth: Weeds in joints mean the sand is no longer compacted enough to block germination. Remove them and top up sand before they spread.
- Paver movement: Rocking or uneven pavers indicate base layer issues that sealing cannot fix. Address these before resealing, or you will seal over a structural problem.
- Sealer wear: Look for dull patches, especially in wheel paths and areas with heavy sun exposure. If water no longer beads on the surface, the sealer has lost its protective properties.
The Environmental Angle: Maintenance That Protects Water Quality
EPA guidance on managing stormwater runoff from hardscapes notes that properly maintained permeable surfaces reduce runoff and help manage water quality, an environmental benefit that extends beyond your property line. Regular cleaning and sand maintenance keep the joints open and functional, allowing water to infiltrate rather than run off into storm drains. This is particularly relevant for homeowners in areas with stormwater utility fees, where maintaining permeable surfaces can reduce your bill.
When to Call a Professional vs. DIY Maintenance
Annual cleaning and inspection are within reach for most homeowners. Joint sand topping is a manageable weekend project. However, resealing is where professional experience matters. A professional identifies whether pavers need stripping and which sealer chemistry matches your climate. Professional resealing every three years can be a cost-effective alternative to replacing shifted or stained pavers after a failed DIY attempt.
Get a Custom Quote for Your Paver Sealing Project
Every driveway presents a different combination of paver type, sun exposure, drainage, and damage. That is why paver sealing services for residential driveways often benefit from an on-site assessment rather than solely a phone estimate.
At Steve's Premium Pressure Washing, we provide transparent upfront pricing with no hidden fees. As a woman-owned, family-run local business, you work directly with the people doing the job. Our 10+ years of experience and five-star reviews reflect a simple approach: assess honestly, recommend the right products, and work carefully.
Better Business Bureau tips for hiring home improvement contractors recommend getting multiple written quotes and verifying that the contractor carries insurance. We welcome that scrutiny because our work holds up to it.
Request a custom quote for your paver sealing project and get a detailed plan that covers cleaning, sand stabilization, and the right sealer for your specific pavers.
Your driveway is one of the first things visitors and potential buyers notice, and it takes more daily abuse than almost any other surface. Protecting it with professional paver sealing services is an investment in curb appeal and structural integrity.
Steve's Premium Pressure Washing brings over a decade of experience, soft wash technology, and transparent pricing to every residential driveway project. Get an estimate today and see the difference a properly sealed driveway can make.
Frequently Asked Questions
Is it worth sealing driveway pavers?
Yes, professional paver sealing services protect your investment. Sealing locks in joint sand, prevents weed growth, and creates a barrier against oil stains, rust, and efflorescence. Unsealed driveways are porous and absorb these contaminants, leading to discoloration and surface degradation over time. A sealed driveway is also easier to clean and holds its color longer, which directly supports your home's curb appeal and driveway longevity.
How long do paver sealers last?
Most professional-grade sealers last between 2 to 5 years, depending on the sealer type and sun exposure. Solvent-based sealers may offer longer protection and a wet-look finish, while water-based options may be more eco-friendly and dry faster. Your driveway's maintenance cycle should include a cleaning and resealing appointment every few years to keep the paver finish looking fresh and maintain stain resistance.
What happens if you don't seal your driveway pavers?
Without sealing, paver joints lose sand quickly, which invites weed growth and ant colonies. The pavers themselves become vulnerable to oil stains, rust from furniture, and UV fading from constant sun. Over time, moisture can seep beneath the surface causing shifting or settling. Regular sealing prevents these issues, preserving your paver durability and avoiding the higher cost of paver restoration later.
How much does it cost to have a paver driveway sealed?
The cost of paver sealing per square foot varies based on your driveway's size, condition, and the sealer type. While DIY kits may seem cheaper, the professional paver cleaning and sealing process often includes essential steps like deep cleaning, efflorescence removal, and resanding that can protect the surface integrity. Contact Steve's Premium Pressure Washing for a transparent, upfront quote tailored to your property.